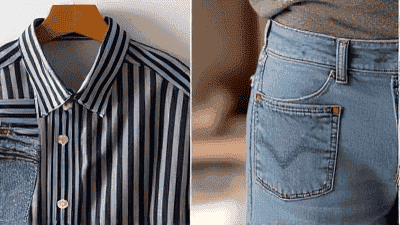
Clothing is an essential part of our everyday lives, and properly caring for it can prolong its life and maintain its appearance. However, despite our best efforts, clothing can suffer from various types of damage over time. From small tears and broken zippers to stubborn stains and fading, knowing how to identify and repair common clothing damage can save you money and extend the life of your favorite garments. This comprehensive guide will take you through the types of damage you might encounter, how to identify them, and effective DIY repair techniques you can implement at home.
Before we embark on repair techniques, it’s important to understand the types of damage that can occur with clothing. Knowing what to look for makes it easier to catch issues early and prevent further deterioration.
Rips and tears can occur for various reasons, including snagging on sharp objects, wear and tear from regular use, or weakness in fabric due to age. Depending on their size and location, they can be repaired easily or may require more advanced techniques.
Seams hold garments together, and over time, these can unravel due to stress, pulling, or simply improper care during washing. This issue can manifest as loose threads or gaps in the fabric.
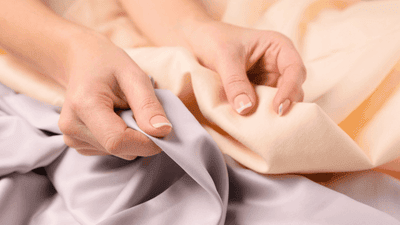
Stains are one of the most common forms of clothing damage. They can arise from food, beverages, cosmetics, or other substances. The longer a stain is allowed to sit, the more difficult it becomes to remove.
Over time, exposure to sunlight and washing can cause colors to fade or change, affecting the overall appearance of clothing. Fading can be particularly common in vibrant colors and certain fabrics, like cotton.
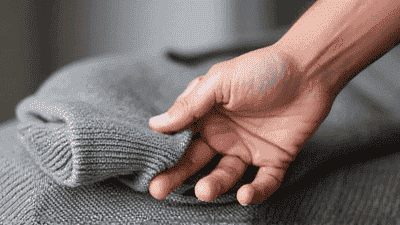
Pilling occurs when fibers from a garment become loose and cluster together, forming small balls on the surface. It is common on knit fabrics and can make clothing look worn.
Holes can form due to pests, particularly moths or carpet beetles, or from wear and tear. Addressing holes promptly can prevent the damage from spreading.
Zippers can become stuck, misaligned, or even break completely. A malfunctioning zipper can render a garment unwearable if not repaired.
Before you start repairing your clothes, it helps to have the right tools and materials on hand. Here is a list of essential items you might need:
Identification: Look for visible fabric disruptions, such as jagged edges or gaps.
Repair Techniques:
Sewing: For small rips, hand sewing with a needle and thread is often effective. Use a backstitch for strength. Fold the edges of the tear inward (to prevent fraying) before sewing.
Iron-On Patches: For larger rips, use an iron-on patch. Position the patch under the tear and use an iron to activate the adhesive, following package instructions.
Fabric Glue: If you need a quick fix, apply fabric glue along the edges of the tear, press down, and allow it to dry completely.
Identification: Check for loose threads or gaps where the fabric has separated at the seams.
Repair Techniques:
Re-Sewing: Use a needle and thread to re-sew the seam. Use a straight stitch or a zigzag stitch for added strength. Be sure to backstitch at the beginning and end to secure the stitches.
Use a Sewing Machine: If you have a sewing machine, it can save time and provide a more professional finish for larger seams.
Identification: Stains can be identified by their discoloration on fabric. Common stains include grease, wine, coffee, and ink.
Repair Techniques:
Immediate Action: Blot any liquid stain with a clean cloth to absorb excess moisture without rubbing.
Cold Water Rinse: For most stains, rinse the fabric with cold water as soon as possible. This often prevents the stain from setting.
Eco-Friendly Stain Removers: Use natural stain removers like lemon juice, vinegar, or baking soda. For example, make a paste of baking soda and water for grease stains, applying it directly to the stain before washing.
Commercial Stain Removers: Allow for a pre-soak with commercially available stain removers for stubborn stains, following the instructions on the packaging.
Identification: Look for uneven colors or unwanted lightening of fabric areas.
Repair Techniques:
Fabric Dye: If fading occurs, consider re-dyeing the fabric to restore its original color, following the manufacturer’s instructions carefully.
Color-Safe Treatments: Use color-safe fabric refreshers to enhance vibrancy without over-dyeing.
Identification: Identify small balls or clumps of fibers on the surface of the fabric.
Repair Techniques:
Fabric Shaver: Use a fabric shaver or lint shaver to gently remove pills from the garment’s surface. Follow the direction of the fabric to avoid cutting.
Manual Removal: Alternatively, use a pair of small scissors or a lint roller to manually remove pills, being careful not to cut the fabric.
Identification: Holes can be small pinpricks or larger gaps in the fabric.
Repair Techniques:
Iron-On Patches: For small holes, an iron-on patch can be an effective solution. Position the patch under the hole and iron it in place according to package instructions.
Sewing Over Holes: Use a needle and thread to sew over the hole, securing fabric from both sides, or create a decorative stitch pattern to cover the hole artistically.
Darn the Hole: For knit fabrics, darning is an excellent technique where you weave thread through the hole to mend it.
Identification: Broken zippers may be stuck, misaligned, or have missing teeth.
Repair Techniques:
Realigning the Zipper: If the zipper is misaligned, gently tug the zipper slider and maneuver it back into place. If it is stuck, apply some lubricant like paraffin wax or soap.
Replacing Zipper Pulls: If the zipper pull is broken, you can replace it with a keyring or a small piece of fabric tied securely to the slider.
Replacing the Entire Zipper: For extensively damaged zippers, consider replacing it entirely by carefully removing the existing zipper with a seam ripper and sewing in a new one, matching the type and size.
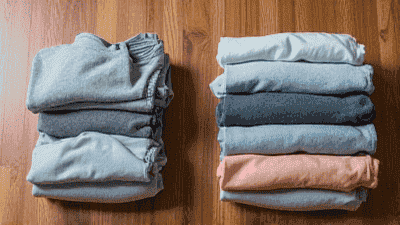
In addition to learning how to identify and repair common clothing damages, employing quality maintenance strategies can help prevent many issues from occurring in the first place. Here are some key maintenance practices:
Read Care Labels: Always follow care instructions on labels to avoid washing mishaps that can lead to damages.
Use Gentle Cycles: Use the gentle cycle for delicate fabrics, and avoid overloading the washing machine to prevent friction and wear.
Frequent Checks: Conduct regular inspections, especially for seasonal clothing, to catch any issues before they worsen.
Store Properly: Use breathable storage bags and keep clothes in a cool, dry place to prevent mold, pests, and fabric degradation.
Act quickly on any damages or fading to ensure they do not worsen over time. Adopting a proactive approach will save time and effort later.
Be mindful while wearing clothing. Avoid strenuous activities in delicate or poorly made garments, and be careful around sharp objects or rough surfaces.
By rotating your clothing and not wearing the same items constantly, you can prevent excessive wear on specific pieces and extend their lifespan.
Identifying and repairing common clothing damage is an essential skill that everyone should learn. With a few tools, some basic sewing knowledge, and a proactive approach, you can extend the life of your favorite garments while reducing waste. From small rips to stubborn stains, this guide provides you with the necessary techniques to tackle various clothing issues effectively.
By embracing DIY repair techniques and focusing on regular maintenance, you can cultivate a sustainable wardrobe that reflects both your style and your commitment to caring for your clothing. Remember, every effort to maintain your clothes is an investment in both your personal style and the environment. So grab your sewing kit, embrace your creative side, and let the art of clothing repair become a fulfilling part of your home care routine!